You've diligently grown, filed, and buffed, and finally, all your nails are the same length. But then you feel a little snag and just like that, your on-point manicure dreams are smashed. Fortunately, we've got an oh-so-easy trick to fixing that tear in your nail: a tea bag. And here's how it's done.
Supplies you'll need: Nail glue, teabag, scissors, tweezers, nail file or buffer block, orange wood stick, and base coat.
Prep: Start with plain nails.
Make sure your nails are clean — no base coat, no polish.
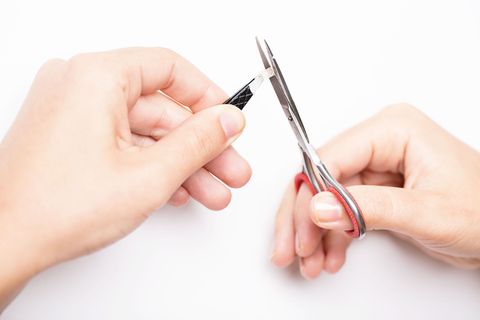
Step 1: Cut the teabag.
Make sure you cut it close to the length and width of the break in your nail.
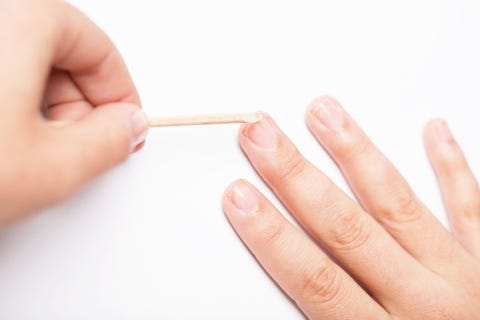
Step 2: Add a little glue.
Add a drop of blue on an orange wood stick, then dab it over the break.
Step 3: Use tweezers to apply the teabag.
Place the teabag piece over the break, then let it dry.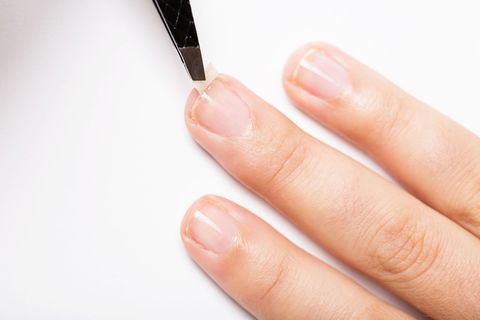

Step 4: Buff it out.
Using a buffer or nail file, lightly smooth out the surface of your nail.
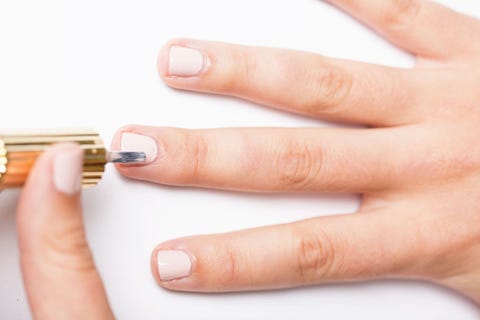
Step 5: Cover with base coat, then apply color.
Once your nails are buffed to smoothness, apply a base coat.
Voila! You've got perfect nails once more. Time for some nail art! Or perhaps just a simple shade of taupe.


0 comments:
Post a Comment